Last updated November 21, 2026
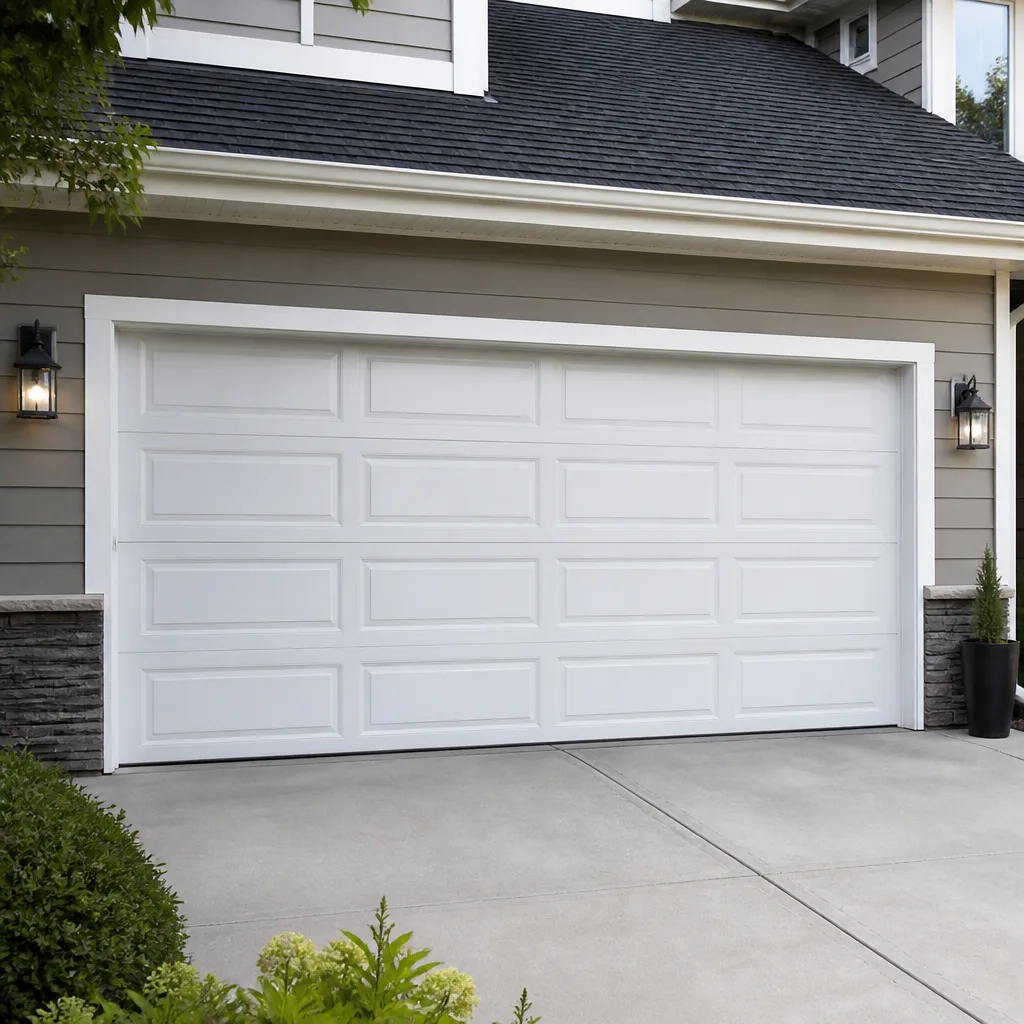 Raised-panel steel
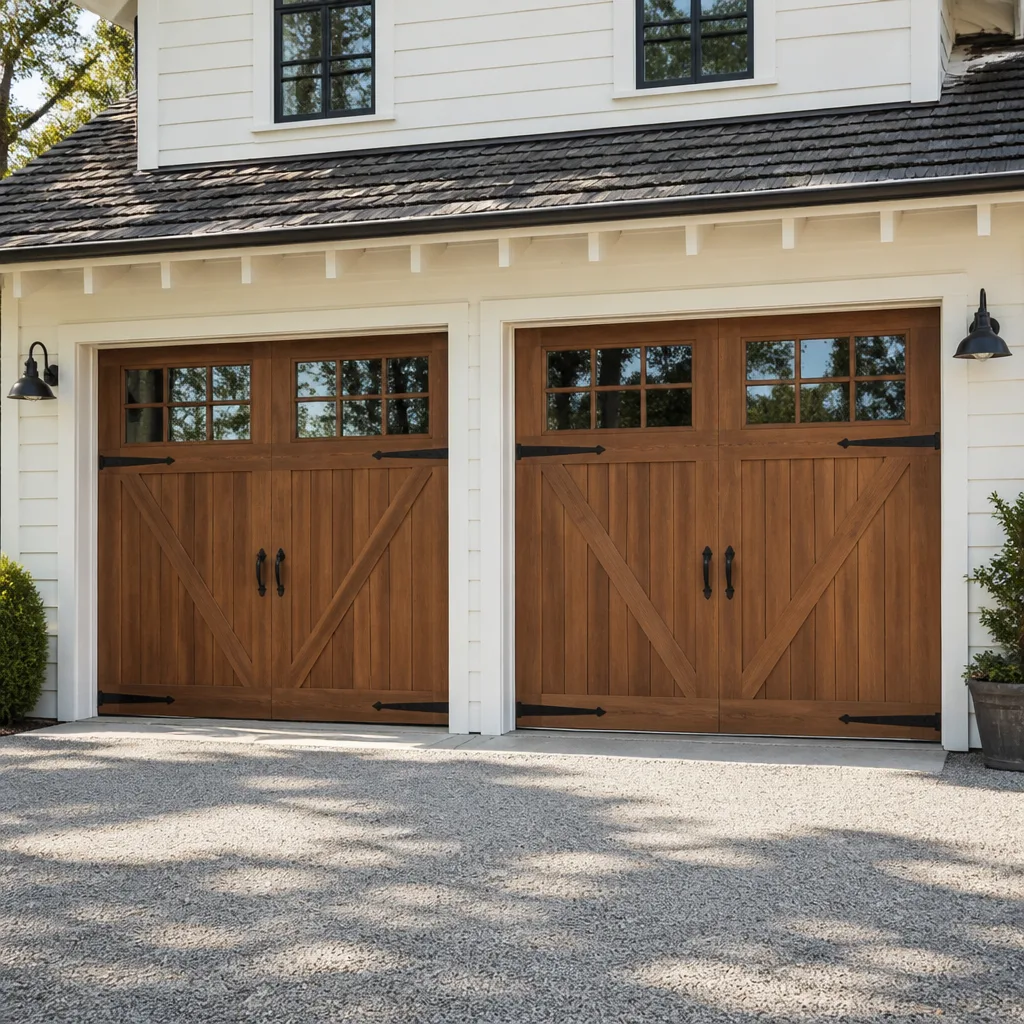 Carriage house
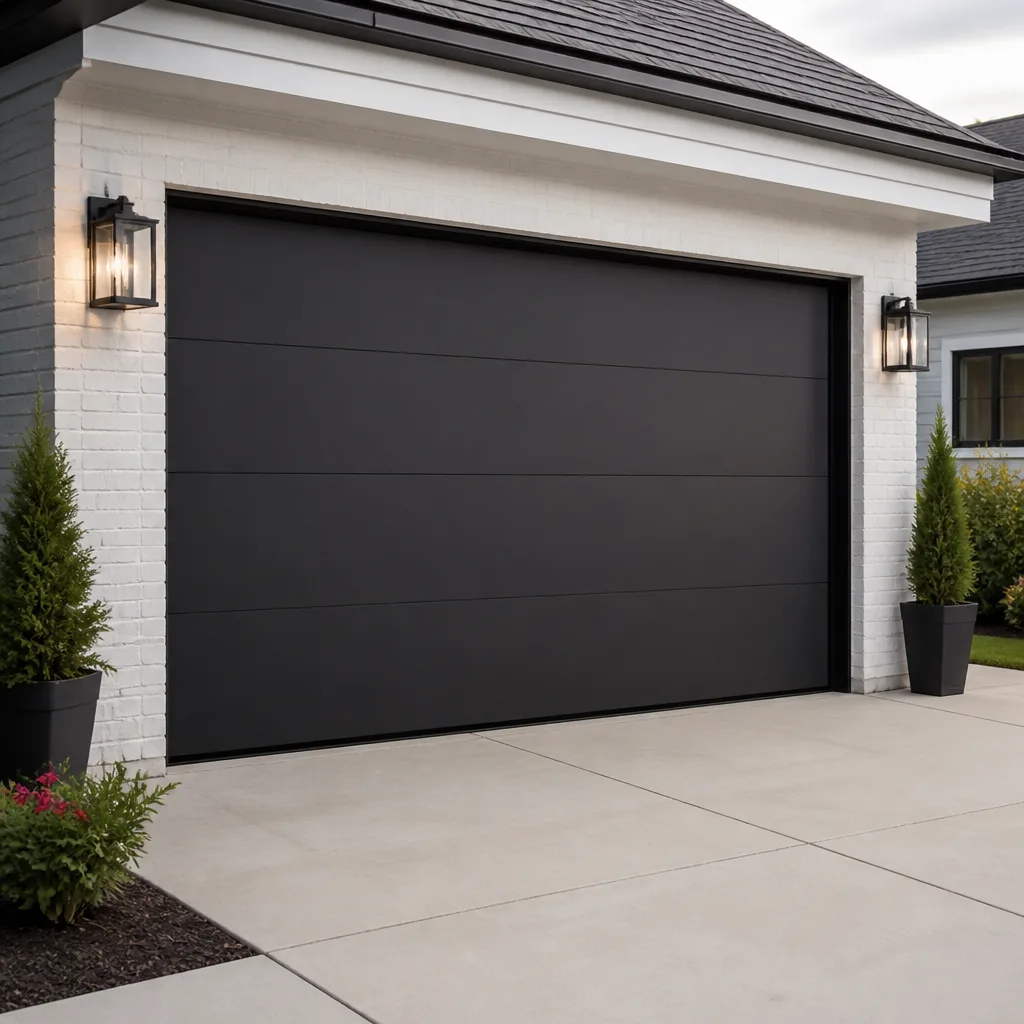 Modern flush
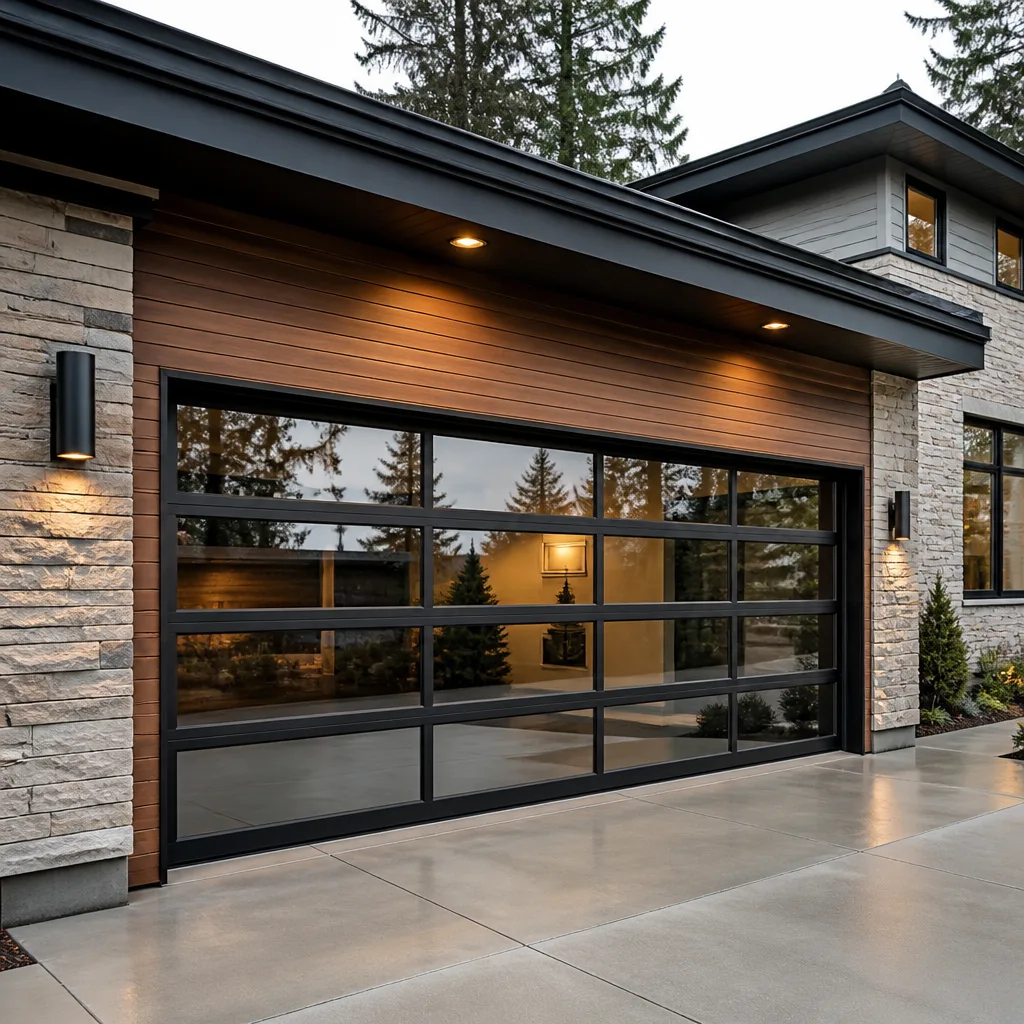 Full-view glass
 LiftMaster openers
 Chamberlain openers
Full 25-point door and opener safety check with every visit - springs, cables, rollers, tracks, and your LiftMaster or Chamberlain opener included
You get a price before we start. It does not change when the pro arrives.
Get your free estimateGarage Door Repair Maintenance Checklist for Yonkers Homeowners
The number-one thing homeowners do wrong during garage door maintenance is lubricating the tracks. It sounds sensible, and every generic checklist recommends it, but grease or spray lubricant on the tracks attracts grit, gums up the rollers, and turns a smooth steel channel into a sticky rail that drags the door and strains the opener. Doing nothing is actually better. What follows is the checklist we’ve built from the failure points technicians actually find on service calls around Yonkers: the creaks, the sagging panels, the sensors that quit in January. You’ll learn what to inspect yourself, what to lubricate and with what, and what to leave alone because touching it could hurt you.
Quick Answer
A garage door maintenance checklist for Yonkers homeowners should cover five safe jobs: visual inspection of springs, cables, rollers and hinges; lubrication of the right parts with white lithium grease or silicone spray (never the tracks); a proper auto-reverse and photoelectric sensor test; weatherstripping inspection before winter; and a monthly listening check for unusual sounds. Anything involving torsion springs, cables, or the door coming off its tracks belongs to a trained technician, not a homeowner with a ladder.
Styles & brands we work with
- Raised-panel steel
- Carriage house
- Modern flush
- Full-view glass
- LiftMaster openers
- Chamberlain openers
Table of Contents
- Why Garage Door Maintenance Matters in Yonkers
- The Part-by-Part Inspection Checklist
- What to Lubricate, What to Leave Alone, and With What Product
- The Sounds and Movements That Signal a Spring Is About to Fail
- How to Test Auto-Reverse and Photoelectric Sensors Correctly
- Weatherstripping Inspection for Yonkers Winters
- Homeowner vs. Technician: An Honest Split
- A Seasonal Maintenance Calendar for the Lower Hudson Valley
Why Garage Door Maintenance Matters in Yonkers
Your garage door is your home’s largest moving part and its most-used entry point. On a typical Yonkers morning, the door cycles open, closes, opens again, and closes at night. That adds up over a year, and every cycle puts wear on springs, rollers, hinges, and the opener’s motor and gears. Ignoring the small stuff doesn’t save money; it just defers the cost to a bigger, more inconvenient repair later.
Yonkers homes present specific maintenance conditions. Most of the housing stock is older, and plenty of garages in neighborhoods like Wakefield, Woodstock, and the blocks around McLean Avenue have doors and openers well past their expected service life. Older wood doors, common on many streets in the city, absorb moisture and swell in wet weather, then shrink and warp when it dries out, which distorts the door’s travel and loads the opener. Steel doors from Clopay, Amarr, and Wayne Dalton hold up better but still need their hardware checked, because loose hinges and worn rollers put the door’s weight out of balance.
Then there’s the climate. Yonkers sits in the lower Hudson Valley, where winters bring repeated freeze-thaw cycles and summers get hot and humid. That cycle works on weatherstripping, seals, and the wood elements of older garages. Add road salt tracked in from winter driving, and rollers, hinges, and bottom brackets see grime and corrosion that accelerate wear.
The value of a maintenance routine is simple: it catches the small, cheap-to-fix problems (a worn roller, a misaligned sensor, a cracked seal) before they damage something more expensive, like the opener’s motor or the door’s panels. It also keeps the safety devices working, which matters most in a household with kids, pets, or a garage that doubles as a workshop or storage space.
The Part-by-Part Inspection Checklist
Start with the door closed and the opener disconnected. Then walk the checklist below in order. This is a visual and tactile inspection, not a repair session. The goal is to notice what’s worn, loose, or out of place, then decide what needs professional attention.
- Panels: Run your eyes down the full width of the door. Look for dents, cracks, rust bubbling at the seams, or separation between panels. Panel separation usually means the hinges or the door’s balance have a problem.
- Hinges: Check each hinge for looseness, bent leaves, or metal fatigue at the folds. A hinge that’s pulling away from the panel is loading the door unevenly.
- Rollers: Look at the rollers where they enter the track. Plastic or nylon rollers should be smooth and round. Flat spots, cracks, or wobbly rollers need replacing.
- Tracks: Stand back and look along the track’s length. It should be straight and parallel to the door’s edge. Any visible bend, dent, or widening is a real problem, not a cosmetic one.
- Cables: With the door closed, inspect each side cable for fraying, kinks, or rust. Cables are under tension even with the door down, so look, don’t touch.
- Springs: Check the torsion spring above the door or the extension springs along the sides. Look for gaps in the coil, a visible break, or rust. A torsion spring with a gap has already failed or is close.
- Weatherstripping and bottom seal: Check the bottom seal and side jambs for cracking, compression loss, or gaps against the floor or frame.
- Opener and safety sensors: Check that the opener’s power cord and connections are intact, and that both photoelectric sensors are aligned and their indicator lights are steady.
If anything on this list raises a question, write it down and get a professional opinion rather than guessing. Yonkers Garage Door Repair Pros handles the full range of repairs and installations, and a quick assessment is usually the fastest way to know if a small problem is growing.
What to Lubricate, What to Leave Alone, and With What Product
The most common lubrication error is hitting the tracks with grease or oil. Tracks are meant to be clean steel. Lubricant on the track captures dust, grit, and grit from winter roads, turning the channel into a paste that makes rollers drag and the opener work harder. Keep the tracks dry and clean with a rag and a mild solvent if you must, but no oil.
The parts that do need lubrication are the hinges, rollers, and the torsion spring ends where the coil meets the bearing plate. White lithium grease is the right choice for hinges and spring ends, because it’s thick, stays in place, and handles the pressure those parts see. Silicone spray is better for rollers (especially plastic or nylon rollers) and for moving parts where you want a thinner, non-greasy film. Use both sparingly: a thin film is plenty.
- Do lubricate: hinges at the pivot points, roller bearings and stems, the torsion spring ends and bearing plates, and the opener’s chain or screw drive (using the manufacturer’s recommended product).
- Do not lubricate: the tracks themselves, the photo-eye sensors, and the opener’s metal housing or any electrical connections.
- Use white lithium grease on hinges and spring ends; it’s the best match for pressure points.
- Use silicone spray on rollers and moving parts where you want a dry, thin film that won’t attract dust.
- Never use WD-40 or general-purpose oil as a substitute; it’s too thin, it evaporates, and it gathers dirt.
One caveat: some manufacturers, especially for doors from Clopay and Wayne Dalton, specify particular rail and roller maintenance in their owner’s manual. Follow your brand’s instructions before a general routine. In our experience, matching the product to the part and applying it lightly once or twice a year is all that’s needed. Call (877) 492-2580 if you’re unsure what your door needs.
The Sounds and Movements That Signal a Spring Is About to Fail
Torsion springs don’t usually die without warning. They stretch, cycle, and fatigue over time, and they give off signals before they snap. Learning those signals is one of the most valuable things a homeowner can do, because an unseen spring failure can leave a heavy door in a dangerous position.
Listen first. A high metallic twang at the end of each open or close cycle suggests the spring is binding or losing tension. A grinding or groaning near the spring ends can mean the bearing plate is dry or the spring is starting to fail. Then watch the door’s movement: if it opens a little unevenly, stops before fully closed, or sags on one side, the spring or the cables are suspect.
- Gaps in the coil: A visible gap in the torsion spring is a sign it has partially failed or is close to breaking.
- Rust: Rust on the coils accelerates fatigue and is a common reason springs fail early.
- A door that feels unusually heavy: If you can lift the door by hand and it feels far heavier than usual, the spring has lost tension.
- Loud bang from the garage: A single sharp bang often means a spring just snapped. Don’t test the door after that; call immediately.
- Door stranded halfway: A door stuck partway open or closed with no clear obstruction often points to a spring problem.
Springs and cables are under high tension even when the door is at rest, and a loaded torsion spring can cause serious injury if handled without the right tools and training. Don’t try to adjust, cut, or remove a spring yourself. If you notice any of these signs, keep the door closed and call us. Yonkers Garage Door Repair Pros treats spring repair as one of its core services, and a technician can safely assess and replace the spring. For any repair need outside that scope, our garage door repair service covers panels, tracks, hinges, cables, and the rest.
How to Test Auto-Reverse and Photoelectric Sensors Correctly
The auto-reverse test and the photo-eye test are the two safety checks that matter most, but most homeowners do them wrong. The standard “tap with a box” test (put a box on the floor and see if the door reverses) is a good start but incomplete: a door can pass that check and still fail the more important edge-pressure and sensor-alignment tests.
Do both tests with the door in motion and the opener engaged, and never stand on a ladder or reach up into the mechanism while the door is moving. Here are the correct steps.
- Auto-reverse pressure test: Place a firm object like a 2×4 flat side down on the floor just inside the door’s path. Start the door closing. The door should reverse within a couple of inches of contacting the board. If it keeps pressing, the opener’s force setting is too high and needs adjustment by a technician.
- Photoelectric sensor test: With the door open, check both sensors mounted near the floor. Each should have a steady indicator light. Break the beam with your leg or a stick, then try to close the door. The door should reverse or refuse to close.
- Alignment check: Look at both sensor lights. If one is blinking, the sensors are misaligned or blocked. Clean the lenses with a dry cloth and adjust the brackets gently until both lights are steady.
- Obstruction test: With the door starting to close, pass a hand across the sensor beam. The door should reverse. Repeat once with the door partway open and once partway closed.
- Manual release test: With the door closed, pull the manual release handle to disconnect the opener. The door should move smoothly by hand. If it feels heavy or binding, the opener is straining and the door needs attention.
These tests catch the failures that cause injuries and damage. If any test fails, stop using the door until it’s checked. Sensors and reverse-settings are sometimes software or adjustment issues, which our garage door opener repair service can diagnose. If your opener is older and its safety features are outdated, it may be worth discussing a replacement, and our garage door installation service covers new units and smart-home openers alike.
Weatherstripping Inspection for Yonkers Winters
Weatherstripping takes the hardest beating of any garage door part during a Yonkers winter. The freeze-thaw cycle works on rubber and vinyl relentlessly: the material flexes, loosens, and cracks. By the time a homeowner notices, the seal is often already letting cold air, moisture, and pests into the garage. A door that won’t keep weather out also makes the room next to it harder to heat, which most Yonkers households notice on the gas bill.
What does failing weatherstripping actually look like? Cracking, yes, but also compression loss: the seal flattens and stops springing back, so it no longer touches the floor or jambs firmly. Check the bottom seal by closing the door and looking for light gaps at the floor. On the sides and top, run your fingers along the strip and feel for cracks, brittleness, or places where the material has shrunk away from the frame. Rubber that feels hard or crumbly is near the end of its life.
- Bottom seal: Should touch the floor across the full width with no light gaps. Compression loss or tears mean replace.
- Side jambs: Look for cracks and gaps; rubber should feel pliable, not brittle.
- Top seal: Often overlooked; check for daylight when the door is down.
- Threshold: Inspect the sill plate for rot and rust; water intrusion is the usual cause.
Replacing weatherstripping is a reasonable homeowner project if the material is accessible and the door isn’t heavy or off-track. But if the seal is glued, riveted, or integral to a steel or wood panel frame (common on Amarr and Clopay doors), let a technician do it. A poorly fitted seal lets water in and can cause panel damage. Call (877) 492-2580 for a free estimate on seal replacement.
Homeowner vs. Technician: An Honest Split
Every garage door has parts a homeowner can safely handle and parts that should never be touched without training and the right tools. Being honest about that line keeps people safe and prevents small jobs from becoming expensive ones. Here’s the split.
- Homeowner can do: visual inspections, cleaning the tracks and sensors, light lubrication (white lithium on hinges, silicone on rollers), testing auto-reverse and photo-eye functions, replacing accessible weatherstripping, and adjusting the opener’s force or travel only if the manual explicitly says so (and only with the door disconnected).
- Leave to a technician: anything involving torsion springs, extension springs, cables, bottom brackets, track repair, panel replacement, and opener gear or motor replacement.
- Homeowner should never do: cut, adjust, or remove a spring; loosen or remove cable drums; force a track back into place; or balance the door by adding or removing springs.
Springs and cables carry the door’s weight and store energy. A homeowner who tries to adjust a torsion spring can be seriously injured even with the door closed. The same applies to the cables on an extended door. If the door is old, has been repaired before, or feels unusual, a technician visit is the right call.
Yonkers Garage Door Repair Pros works on all major brands, so you don’t need to find a brand-specific dealer or a general handyman. Whether the door is an older Wayne Dalton or a newer Clopay, technicians diagnose and repair what’s already installed. Call (877) 492-2580 to schedule a check.
A Seasonal Maintenance Calendar for the Lower Hudson Valley
Yonkers weather is seasonal enough to plan maintenance around. A simple twice-a-year routine, with short checks in between, catches most problems before they strand your door.
- Early spring (after winter): Inspect the weatherstripping, bottom seal, and any wood door panels for moisture damage. Check hinges and rollers for wear from winter grit and clean the tracks.
- Late spring: Lubricate hinges, rollers, and spring ends. Test the auto-reverse and photo-eye sensors. Check the spring for gaps or rust.
- Summer: Test the opener, listen for unusual noise, and check the door’s balance by disconnecting it and lifting it by hand. Look for humidity-related swelling on older wood doors.
- Early fall (before winter): Re-check weatherstripping, replace worn seals, and lubricate again. Inspect springs once more and look for any new gaps or rust.
- Monthly: Do a quick cycle test and listen for new sounds. Clean the sensors if dust or dirt builds up.
If your area has older homes with wood-frame garages, like parts of Yonkers on steep streets where drainage can be tricky, pay particular attention to the threshold and sill in the fall. Water pooling or seeping under the door is a common cause of rot and door misalignment.
Common Mistakes to Avoid
- Lubricating the tracks. Grease on the tracks collects grit and drags the rollers. Tracks should stay clean and dry; lubricate the hinge, roller, and spring points instead.
- Ignoring a small gap in the torsion spring. A gap is not a cosmetic issue; it means the spring is failing. Address it before it snaps and leaves the door stuck.
- Using WD-40 as a lubricant. It’s a solvent, not a lasting lubricant; it evaporates and attracts dust. Use white lithium grease or silicone spray instead.
- Testing the sensors with a block only. The block test is useful, but you also need the photo-eye alignment test and the manual-release test. A door can pass one and fail the others.
- Adjusting the opener force to compensate for a binding door. Increasing the force setting hides a problem instead of fixing it, and strains the motor. Find out why the door binds.
- Trying to replace a spring or cable yourself. These parts store enormous energy. A misstep can cause serious injury. Call a professional.
- Skipping the pre-winter weatherstripping check. A small seal gap in October becomes a frozen, wet garage by January. Inspect and replace before the freeze sets in.
See the difference
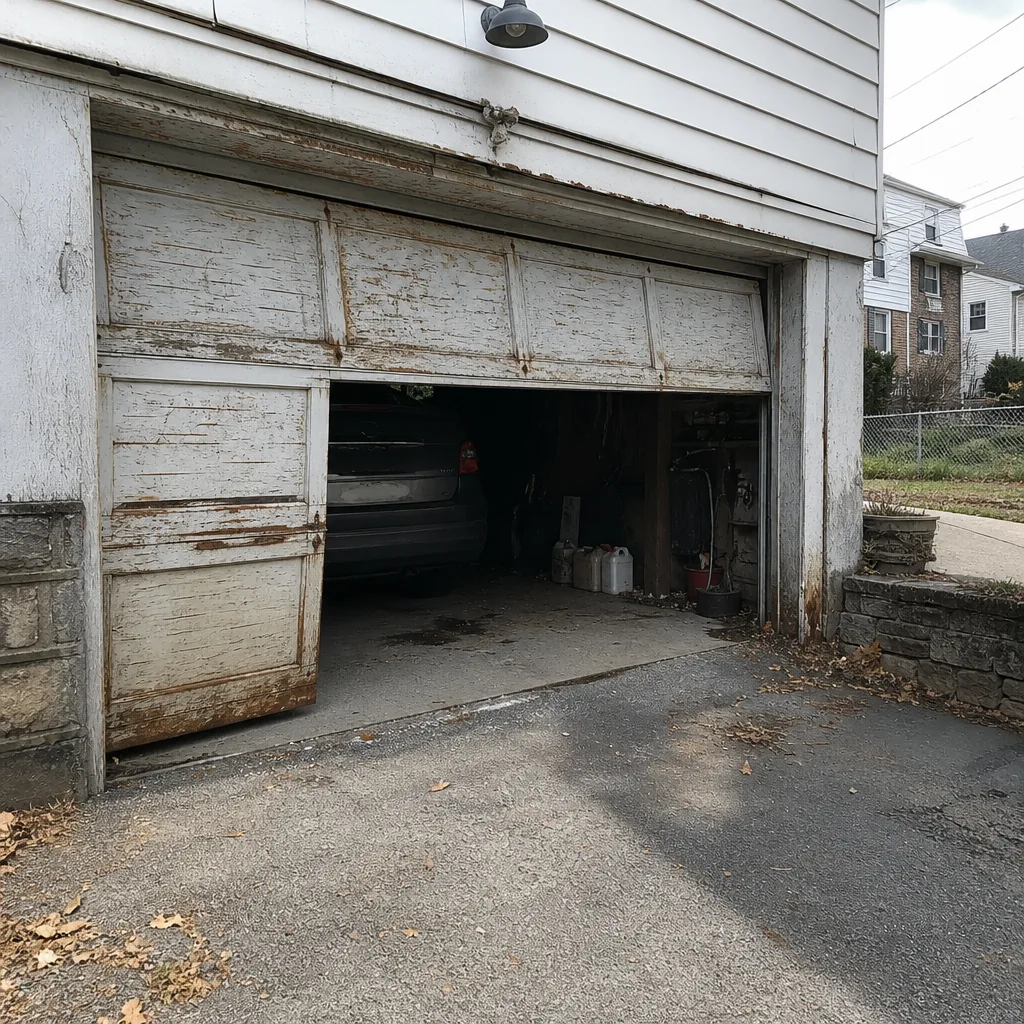 Before
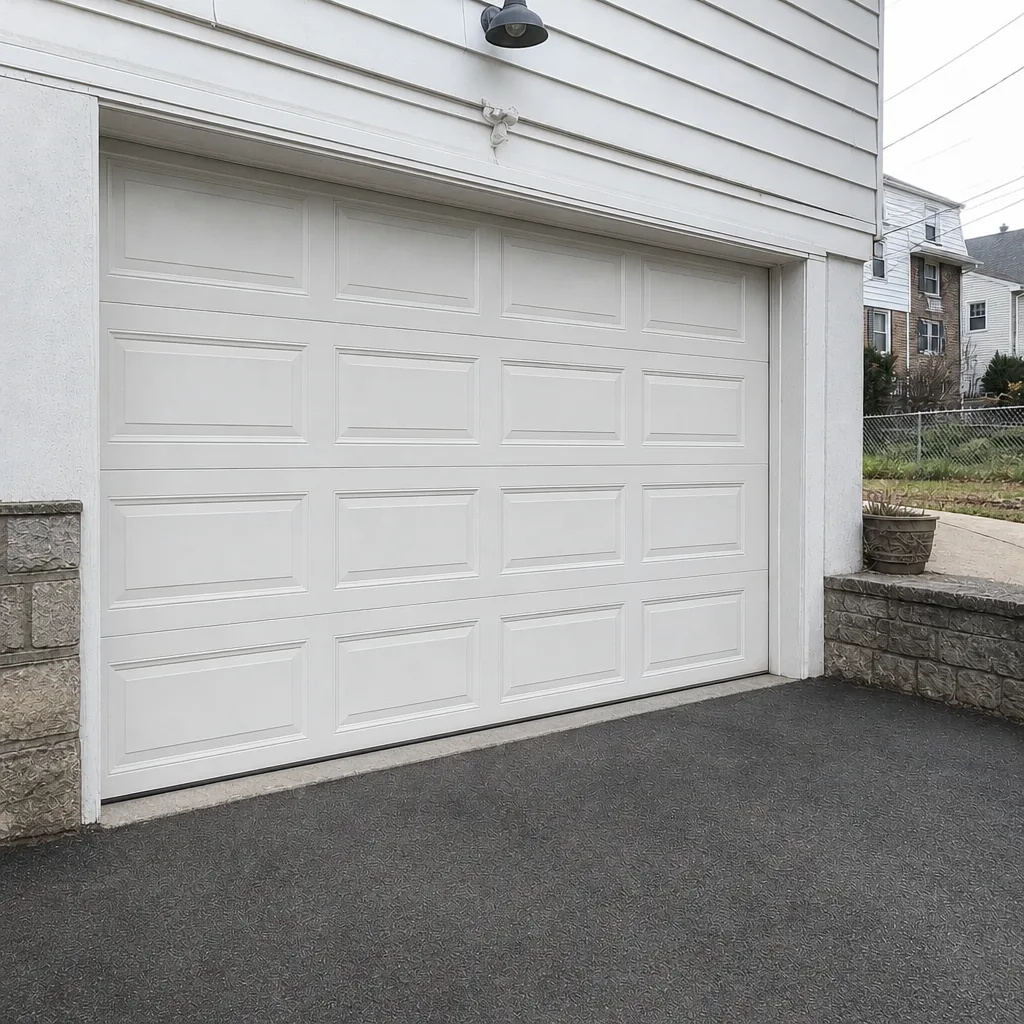 After
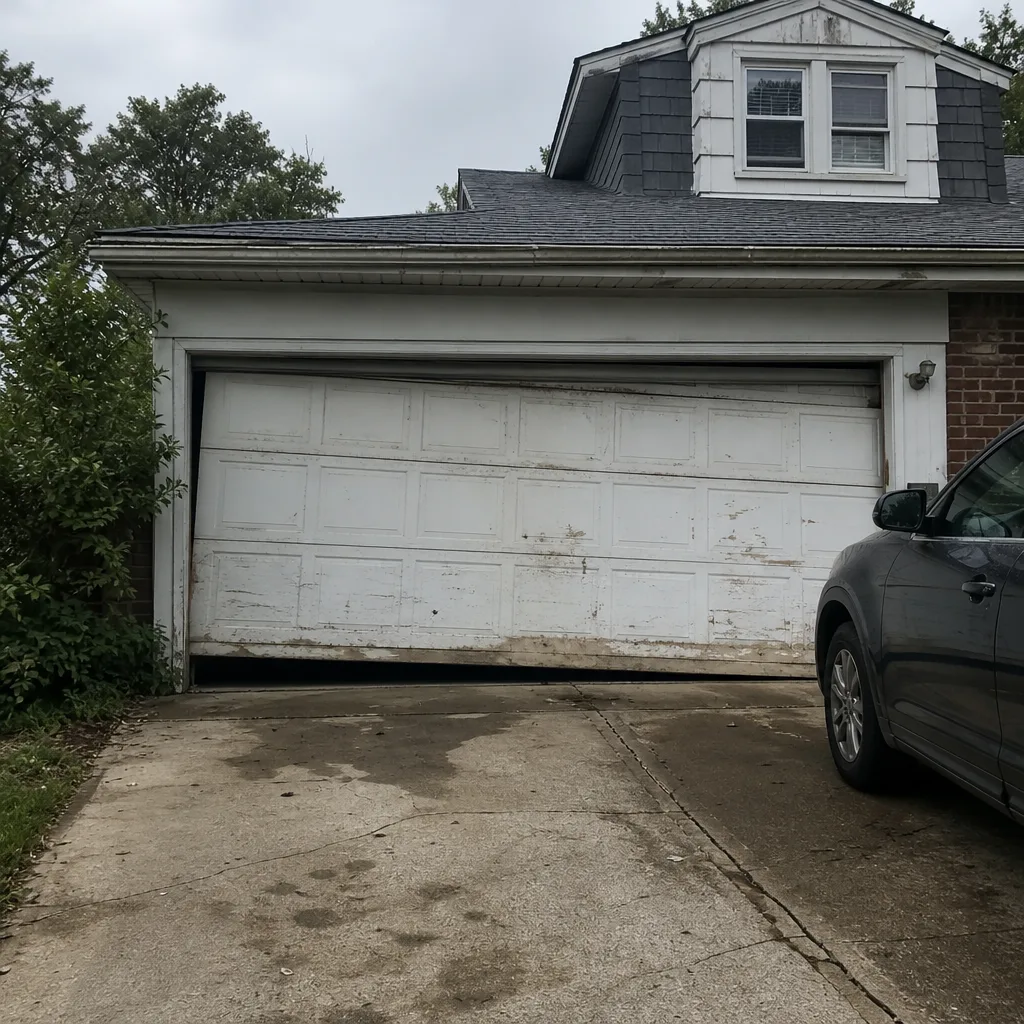 Before
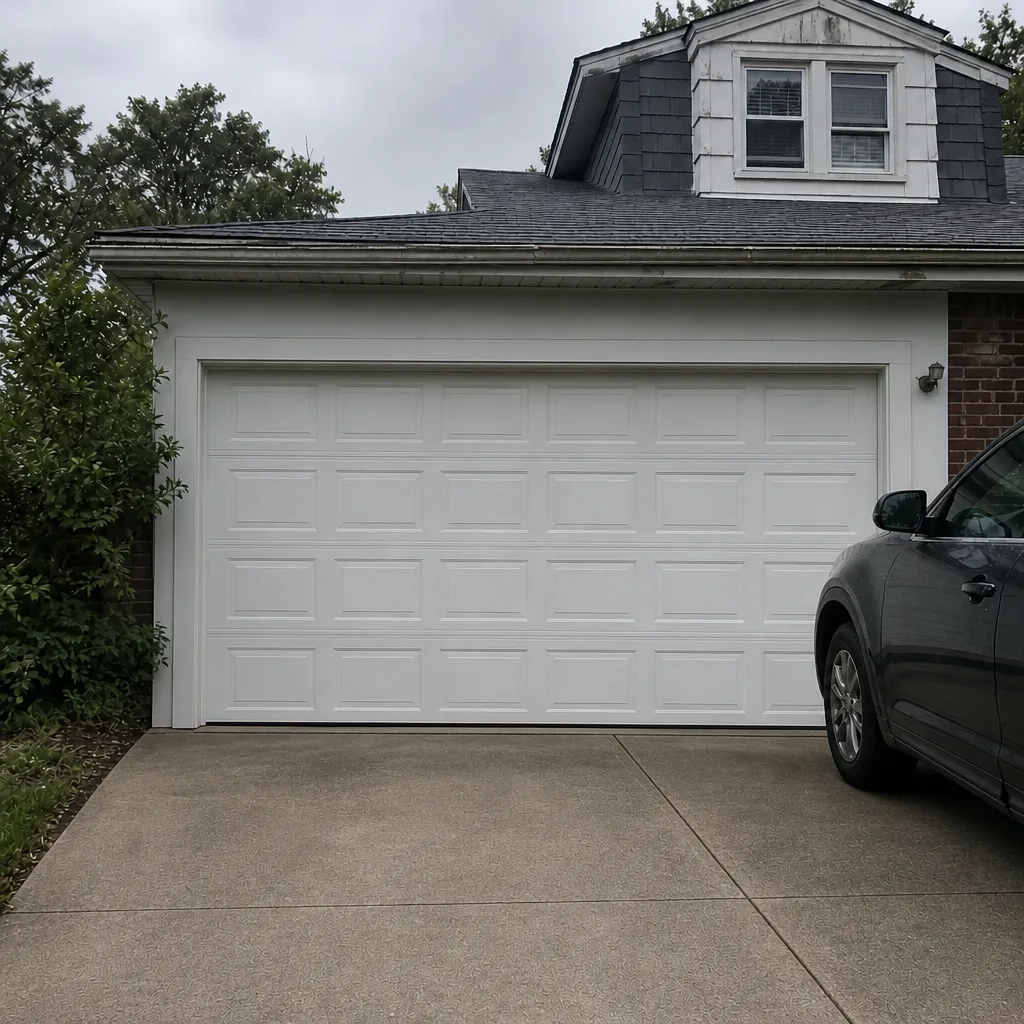 After
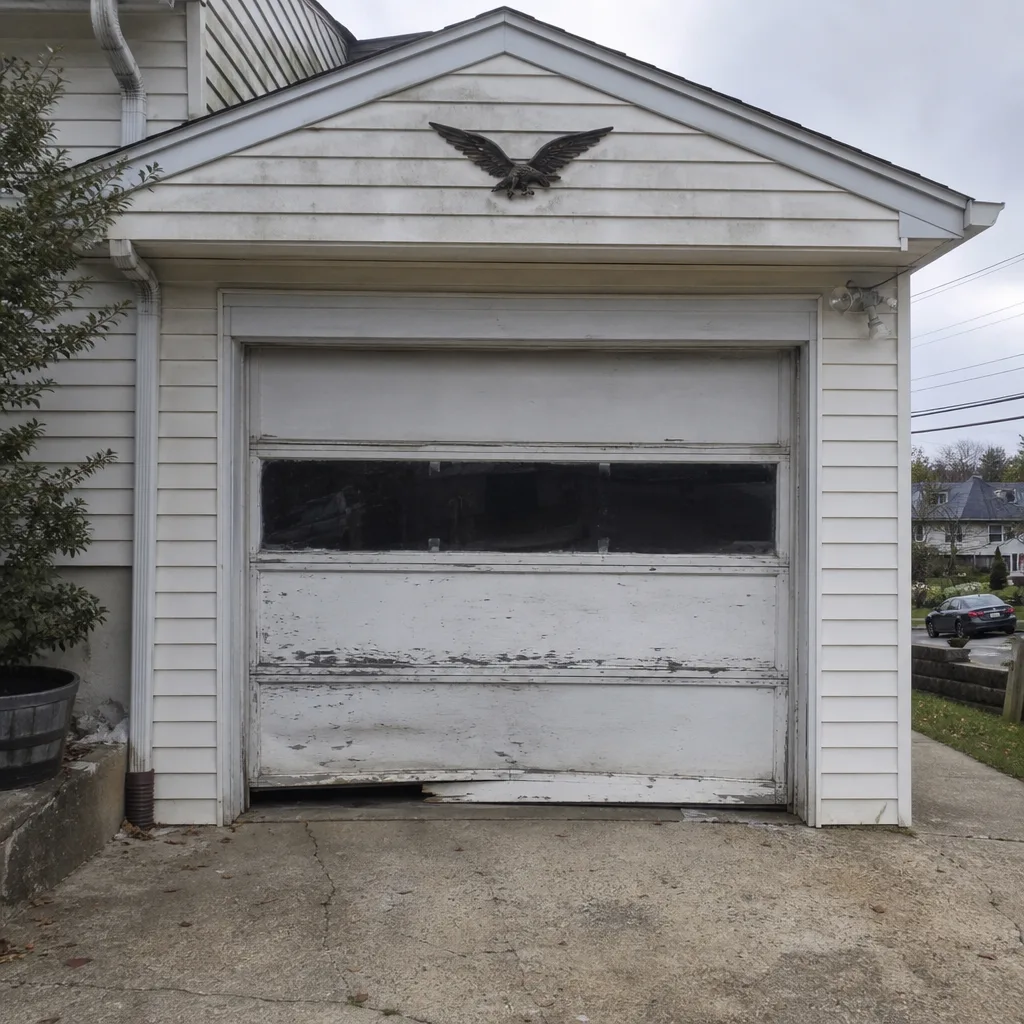 Before
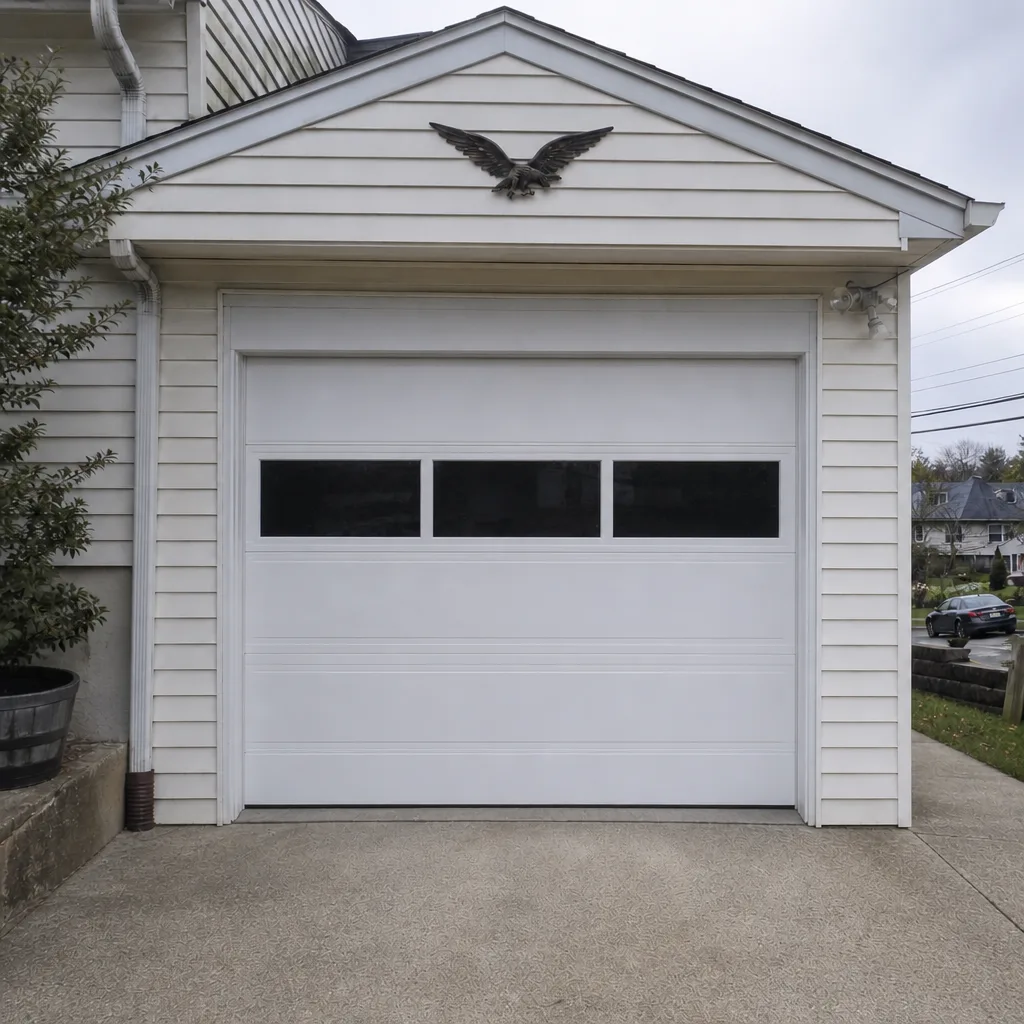 After
When to Call a Professional
Some situations clearly call for a technician: any sign of a broken or failing spring, a door that’s off its tracks, a cable that’s frayed or snapped, a door that won’t close or opens unevenly, an opener that runs but doesn’t move the door, or a garage that’s been hit and shifted. Also call if a door is stuck open and you need it closed for security, or if your auto-reverse and photo-eye tests fail no matter what you try. For older doors with repeated problems, a technician evaluation often saves money over repeated fixes. Our Yonkers Garage Door Repair Pros team handles the full range of repairs. Yonkers Garage Door Repair Pros offers free estimates in Yonkers – call (877) 492-2580.
Frequently Asked Questions
Twice a year is the general rule for most Yonkers homes: once in late spring after winter, and once in early fall before the freeze arrives. Add a monthly cycle-and-listen test in between. That schedule catches most wear before it becomes a failure, especially given the freeze-thaw cycles the area sees.
Yes, light lubrication on the spring ends is safe if the door is fully closed, but don’t adjust, cut, or remove the spring itself. A loaded torsion spring is dangerous. If the spring has a gap, looks rusted, or the door feels heavy, call (877) 492-2580 for a professional inspection.
A door that reverses for no reason usually has a misaligned or dirty photo-eye sensor, a binding track, or a force setting that’s too low. Check the sensor lights first. If both lights are steady and the door still reverses, the problem is likely mechanical and needs professional inspection. Our garage door opener repair team can pinpoint it; estimates are free.
If the door is stuck open, keep pets and children away and don’t force it closed by hand. Yonkers Garage Door Repair Pros offers emergency garage door service for doors stuck open or won’t close. A call to (877) 492-2580 gets a technician on it faster than trying to fix it yourself.
Replace it if it’s cracked, brittle, or has lost its spring. A simple test: close the door and look for light gaps at the floor and jambs. If the rubber feels hard or doesn’t touch the floor, it needs replacing. The right time to check in Yonkers is before winter.
Some homeowners can install a simple opener, but modern smart-home-compatible units involve wiring, force settings, and sensor calibration, and an incorrect install can compromise safety. If you’re considering a new door or opener, the safer route is a professional installation. Our garage door installation team can install and configure it: call (877) 492-2580 for a free estimate.
The Bottom Line
A good garage door maintenance routine for Yonkers families comes down to five things: inspect what you can see, lubricate the right parts with white lithium or silicone, never grease the tracks, test the safety features properly, and leave the springs and cables to a technician. Doing those five things twice a year prevents most of the big emergencies and keeps the door moving smoothly through Hudson Valley winters. If something doesn’t look or sound right, don’t guess. Call Yonkers Garage Door Repair Pros at (877) 492-2580 for a free estimate, and let the team take a look.
Written by the team at Yonkers Garage Door Repair Pros.